
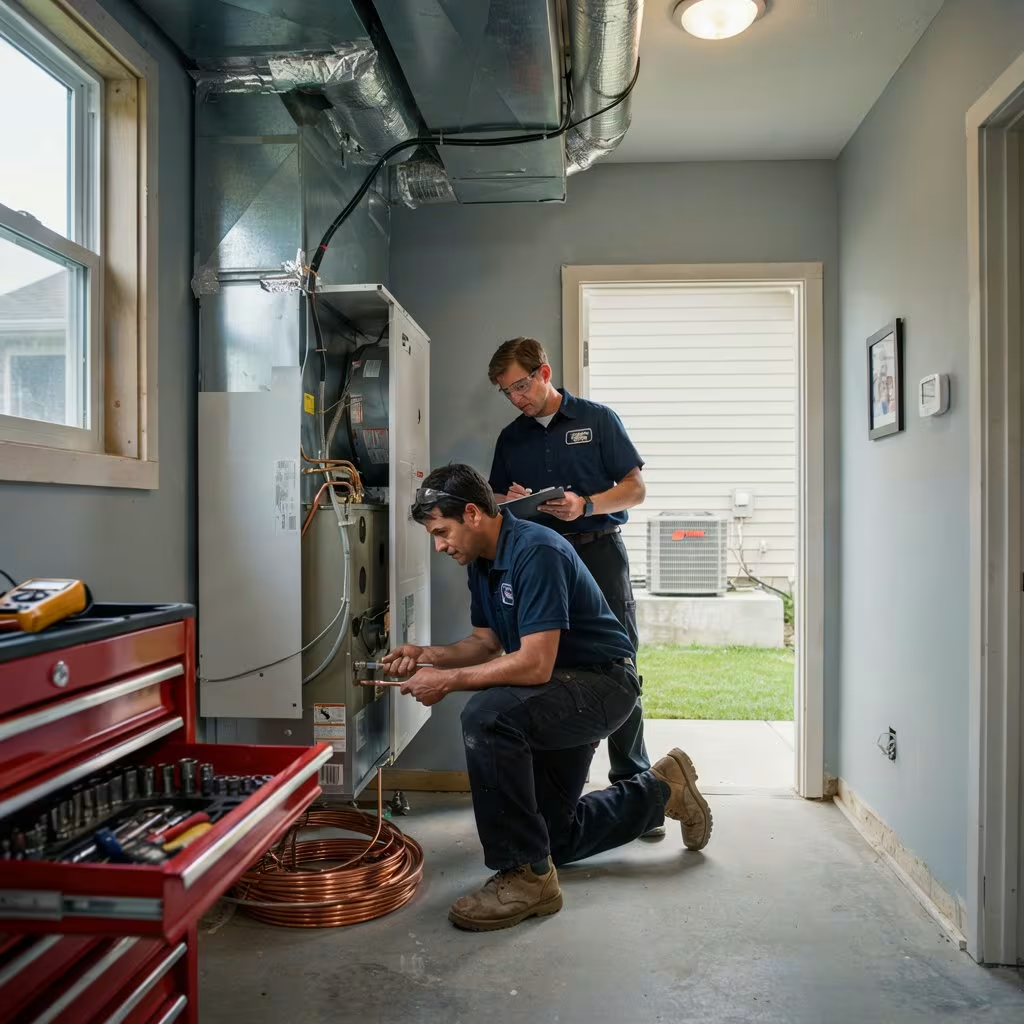
Replacing your HVAC system is a big decision. It is not something most homeowners do very often, which is why the process can feel confusing. You may wonder how long it takes, what happens during the installation, or how to know you’re getting the right system for your home.
The good news is that a professional HVAC replacement process is much more organised than many people expect. Every step has a purpose, from the first inspection to the final system test. When each stage is handled correctly, you end up with a heating and cooling system that keeps your home comfortable, lowers energy costs, and works reliably for years.
In this guide, we’ll walk you through our HVAC replacement process from start to finish. By the end, you’ll know exactly what to expect and why every step matters.
Why Understanding the HVAC Replacement Process Matters
Knowing what happens during an HVAC replacement helps you feel more confident before the project begins. Instead of worrying about unexpected surprises, you’ll understand what your HVAC contractor is doing and why.
A clear process also leads to better results and proper planning helps avoid delays, reduces installation mistakes which ensures your new system performs at its best. Every home is different, so taking the time to inspect, measure, and plan makes a big difference.
Most importantly, working with experienced HVAC professionals means every detail is handled correctly. That gives you peace of mind from the first visit to the final walkthrough.
Signs It’s Time to Replace Your HVAC System
Many homeowners wait until their HVAC system completely stops working. While that may seem like the easiest option to go for when replacing your system before a total breakdown often saves money and prevents unexpected discomfort.
Your System Is More Than 10 to 15 Years Old
Many HVAC systems last between ten to fifteen years with regular maintenance. As they age, they become less efficient and may struggle to keep your home comfortable.
Frequent Repairs Are Becoming Expensive
Calling for repairs once in a while is normal. But if you’re scheduling service every few months, those repair bills can quickly add up. Investing in a new HVAC system may cost less over time.
Energy Bills Keep Increasing
If your utility bills continue rising even though your energy use hasn’t changed, your HVAC system may be working harder than it should. Older equipment often uses much more energy than newer high-efficiency models.
Uneven Heating or Cooling Throughout the Home
Are some rooms too hot while others stay cold? Uneven temperatures often point to an aging system that can no longer distribute air properly.
Strange Noises, Odors, or Poor Airflow
Grinding noises, burning smells, weak airflow, or constant cycling are all signs your HVAC equipment may be nearing the end of its life.
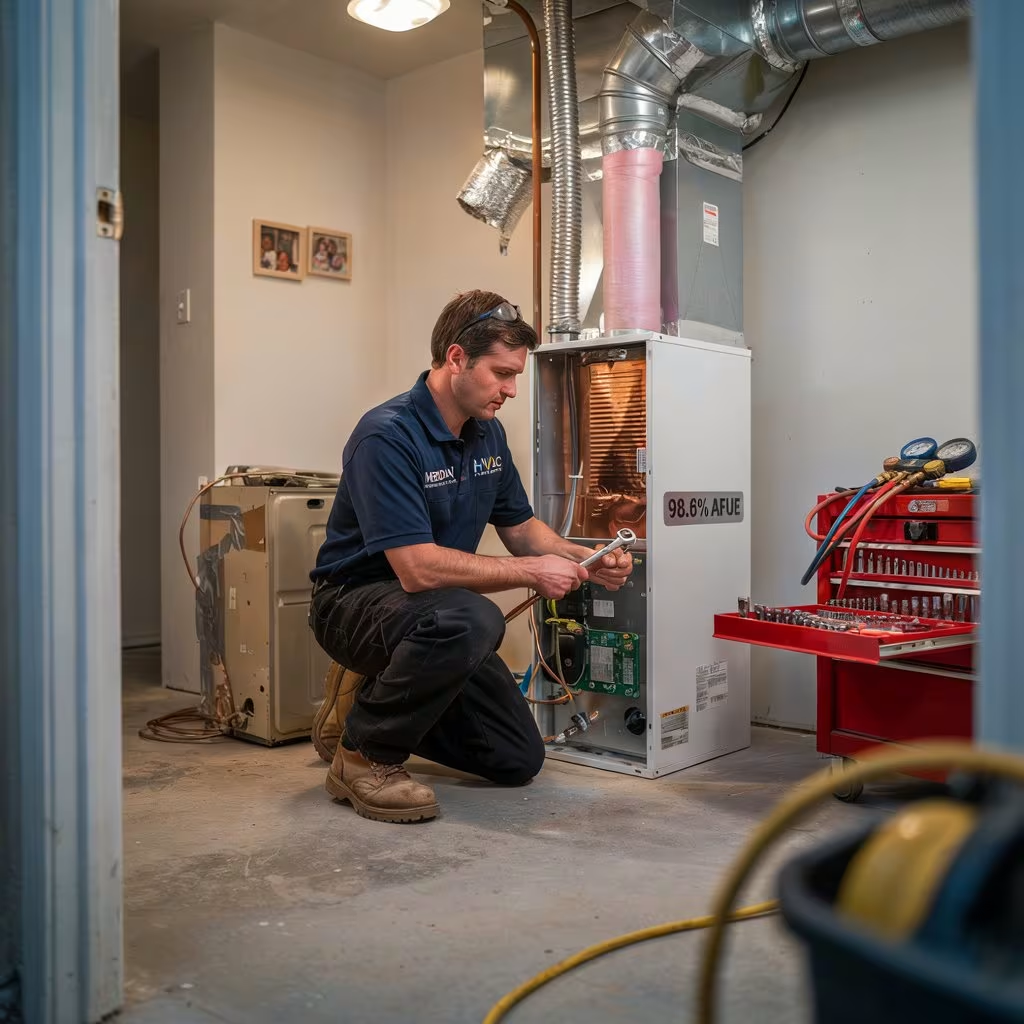
Step 1: In-Home HVAC Inspection and System Evaluation
Every successful HVAC replacement begins with a complete inspection.
Our professional technician examines your current heating and cooling system, checks how well it performs, and looks for any existing problems. We don’t simply recommend replacing equipment without understanding your home’s specific needs.
During the inspection, we also evaluate your ductwork, airflow, insulation, thermostat, electrical connections, and ventilation. These factors all affect how efficiently your HVAC system operates.
We also ask questions about your comfort. Maybe one room is always warmer than the rest of the house, or perhaps your second floor never cools properly. Learning about these issues helps us recommend the best solution instead of simply replacing old equipment with a similar model.
Step 2: Load Calculation and System Sizing
One of the biggest mistakes during HVAC replacement is installing the wrong size system.
Many people believe a larger system will cool or heat their home faster. In reality, oversized systems often turn on and off too quickly, which wastes energy and creates uneven temperatures.
That is why we perform a professional load calculation before recommending new equipment. This calculation considers several important factors, including:
- Home size
- Number of windows
- Insulation levels
- Ceiling height
- Local climate
- Sun exposure
- Number of occupants
Using this information allows us to recommend the properly sized HVAC system for maximum comfort and efficiency.
Step 3: Choosing the Right HVAC System
Once we’ve determined the correct system size, it’s time to choose the equipment that best fits your home and budget.
Selecting the Best Heating and Cooling Equipment
Every homeowner has different needs. Some prefer traditional central air systems, while others may benefit from heat pumps or high-efficiency furnaces. We eleborate the options clearly so you can make an informed decision.
Energy Efficiency Ratings Explained
Modern HVAC systems come with efficiency ratings such as SEER2 and AFUE. Higher ratings usually mean lower energy consumption and reduced monthly utility bills. We help you understand these ratings without overwhelming you with technical terms.
Smart Thermostats and Modern Features
Today’s HVAC systems offer much more than heating and cooling. Smart thermostats allow you to control temperatures from your phone, create schedules, and improve energy savings with very little effort.
Indoor Air Quality Upgrades to Consider
Your HVAC system also affects the air you breathe. Depending on your needs, we may recommend air purifiers, humidifiers, dehumidifiers, or upgraded air filters to improve indoor air quality throughout your home.
Step 4: Receiving a Detailed HVAC Replacement Estimate
Before any work begins, you’ll receive a detailed estimate explaining exactly what the project includes.
A professional HVAC estimate should clearly outline:
- Equipment being installed
- Labor costs
- Installation materials
- Warranty coverage
- Estimated project timeline
- Available financing options, if offered
We believe homeowners deserve complete transparency and there should never be any kind of hidden charges or confusing pricing. By reviewing everything in advance, you’ll know exactly what to expect before installation begins.
Step 5: Preparing Your Home for Installation Day
Good preparation helps installation go smoothly.
Before our team arrives, we confirm your appointment and explain how to prepare your home. Most homeowners only need to clear a path to the HVAC equipment and move valuable or fragile items away from the work area.
Our technicians also protect your home by using floor coverings and taking care while moving equipment inside. Keeping your home clean and safe is just as important as installing the new system correctly.
Throughout the day, we communicate with you so you always know what’s happening.
Step 6: Removing the Old HVAC System
Before the new equipment can be installed, the old system must be removed carefully.
Our technicians disconnect electrical components, refrigerant lines, and duct connections using proper safety procedures. Old equipment is then removed without causing unnecessary disruption to your home.
Whenever possible, recyclable materials are sent to appropriate recycling facilities instead of being thrown away. Once the old system has been removed, we prepare the installation area and inspect it one more time before bringing in the new equipment.
Step 7: Installing the New HVAC System
Installation is the most important part of the entire HVAC replacement process.
Our experienced technicians carefully install every component according to manufacturer specifications and local building codes.
Installing Indoor Components
The furnace, air handler, evaporator coil, or heat pump components are installed inside your home with careful attention to proper positioning and secure connections.
Installing Outdoor Equipment
The outdoor unit is placed on a stable, flat surface with enough clearance to ensure proper airflow and long-term performance.
Connecting Electrical and Refrigerant Lines
Electrical wiring, refrigerant lines, drainage systems, and communication cables are connected carefully and tested for safety before the system is powered on.
Updating or Modifying Ductwork When Needed
Sometimes the existing ductwork needs repairs or modifications to improve the airflow. Fixing these issues during installation helps your new HVAC system perform much better than simply replacing the equipment alone.
Step 8: System Testing, Calibration, and Final Inspection
Installing the equipment is only part of the job and before we consider the project complete, every system goes through detailed testing.
We measure airflow, check refrigerant levels, verify electrical connections, test thermostat operation, and confirm that heating and cooling cycles work properly.
If adjustments are needed, we make them immediately. Small calibrations can make a big difference in comfort and energy efficiency.
Finally, we perform one last inspection to ensure everything meets our quality standards before turning the system over to the homeowner.
Step 9: Homeowner Walkthrough and Maintenance Tips
After installation the system, we don’t simply pack up and leave.
We take time to show you how your new HVAC system works, explain thermostat settings, answer your questions, and review basic maintenance.
Simple maintenance habits can help your system last much longer. We recommend:
- Replacing air filters regularly.
- Keeping outdoor units free from leaves and debris.
- Scheduling professional HVAC maintenance once or twice each year.
- Paying attention to unusual sounds or airflow changes.
We also explain your warranty coverage so you know what’s protected in the future.
How Long Does an HVAC Replacement Usually Take?
Many homeowners are surprised to learn that most HVAC replacements can be completed in a single day.
Simple installations usually take between six and ten hours. More complex projects involving ductwork changes, electrical upgrades, or multiple systems may require additional time.
Weather, equipment availability, and unexpected repairs can also affect the schedule. Before work begins, we provide a realistic timeline so you’ll know exactly what to expect.
Common Mistakes to Avoid During an HVAC Replacement
Replacing your HVAC system is a major investment, so avoiding common mistakes can save money and frustration.
One of the biggest mistakes is choosing the cheapest option without considering quality. Low-priced systems or inexperienced installers often lead to higher repair costs later.
Another mistake is ignoring proper system sizing. An oversized or undersized HVAC system rarely performs efficiently.
Some homeowners also overlook ductwork problems. Even the best heating and cooling equipment cannot perform well if air leaks through damaged ducts.
Finally, don’t skip regular maintenance after installation. Routine service helps your new HVAC system stay efficient and reliable for many years.
Benefits of a Professional HVAC Replacement Process
A professionally installed HVAC system provides much more than comfortable temperatures.
You’ll enjoy lower energy bills because modern equipment operates more efficiently. Your home will heat and cool more evenly, reducing uncomfortable hot and cold spots.
Better filtration and improved airflow can also improve indoor air quality by reducing dust, allergens, and humidity problems.
Professional installation protects your manufacturer’s warranty, improves equipment lifespan, and reduces the risk of future breakdowns. Most importantly, you’ll have confidence knowing your system was installed safely and correctly
Why Homeowners Trust Our HVAC Replacement Process
We want every homeowner to have a smooth, stress-free experience from beginning to end.
We believe great service starts with honest communication. That’s why we explain every recommendation, answer every question, and never pressure you into buying equipment you don’t need.
Our licensed HVAC technicians follow proven installation practices, use quality materials, and pay close attention to every detail. We don’t rush the job because doing it right the first time is always the best approach.
Even after installation is complete, we’re here to help with maintenance, repairs, and ongoing support whenever you need us. Building long-term relationships with our customers is just as important as installing a new HVAC system.
Conclusion
Replacing your HVAC system doesn’t have to feel overwhelming. When you understand each step of the HVAC replacement process, everything becomes much easier to follow. From the initial inspection phase and accurate system sizing to professional installation and final testing, every stage is designed to ensure your new heating and cooling system is providing its peak perfomance.
Choosing an experienced HVAC contractor means you’ll receive expert guidance, quality workmanship, and reliable support long after the installation is complete. Right system installed by a skilled installation team, lets you enjoy greater comfort, lower energy bills, cleaner indoor air, and dependable performance for years to come.
If you’re thinking about replacing your HVAC system, scheduling a professional inspection is the best place to start. A careful evaluation today can help you make the right decision.
