It never fails the moment summer heat really bites down, your air conditioner decides to act up. You crank the thermostat to 72, hear the familiar hum kick on, and stand under the vent waiting. Nothing but lukewarm air.
Most homeowners in this situation immediately assume the worst: an expensive repair, a system replacement, or worse, a week without cooling in the middle of July. But here’s the reality: the vast majority of AC problems trace back to a handful of very common, often preventable issues. Some you can fix yourself in under 20 minutes. Others need a licensed tech, but knowing which is which saves you both panic and money.
This guide walks through the 10 most common AC problems we see in the field, what causes them, how to diagnose them yourself, when to call a professional, and, importantly, how upgrading to a ductless mini split system eliminates many of these headaches for good.
1. Dirty or Clogged Air Filter
What’s Actually Happening
Your air filter’s job is to catch dust, pet hair, pollen, and debris before it reaches the internal components of your system. When it gets thick with buildup, and it will, it chokes off the airflow your AC depends on to function. Less air moving over the evaporator coil means the system can’t transfer heat efficiently. It works harder, cools less, and burns more electricity doing it.
Signs You’re Dealing With This
✔ Rooms that used to cool quickly now take twice as long
✔ Airflow from vents feels noticeably weak
✔ Your electricity bill crept up without any obvious reason
✔ You notice more dust settling on furniture than usual
✔ The indoor unit has ice forming on it (more on this in #2)
How to Fix It
Turn off the system. Locate the air handler (usually in a closet, attic, or utility room). Slide out the filter. Hold it up to a light source . if you can’t see light through it, it’s done. For standard 1-inch flat filters, replace monthly during heavy-use seasons. For thicker 4-inch pleated filters, every 90 days is typically fine.
A $5 filter replacement every month prevents a $300 service call. That math is hard to argue with.
What Competitors Miss
Most guides tell you to replace the filter and move on. What they skip: filter MERV rating matters. A MERV 13 filter catches more particles but restricts airflow more than a MERV 8. If your system wasn’t designed for high-restriction filtration, upgrading to a ‘better’ filter can actually cause the same airflow problems you were trying to prevent. Check your system’s specs or ask your HVAC tech before making the switch.
2. Frozen Evaporator Coil
What’s Actually Happening
This one surprises homeowners every time ice forming on an air conditioner in the middle of summer. The evaporator coil inside your home needs a constant flow of warm air to prevent the refrigerant running through it from dropping below freezing. When that airflow is interrupted (dirty filter, blocked vent, low refrigerant, failing blower), the coil literally ices over. A frozen coil can’t absorb heat, so your AC blows warm or barely cool air, or shuts off entirely.
Signs You’re Dealing With This
✔ Visible frost or ice on the refrigerant lines coming out of the indoor unit
✔ Water dripping or pooling around the indoor unit when it defrosts
✔ AC runs continuously but temperature barely drops
✔ Weak airflow even with a clean filter
✔ Hissing or gurgling sounds near the indoor unit
How to Fix It Step by Step
Step 1: Turn the system completely off. Don’t just switch to ‘fan only’; shut it down at the thermostat.
Step 2: Set your thermostat fan to ‘ON’ (not auto). This blows room-temperature air over the coil and speeds up thawing significantly.
Step 3: Wait. Full thaw can take 2–24 hours depending on how severe the freeze is. You’ll know it’s done when you see no more ice and the drip pan is dry.
Step 4: Replace or clean the air filter before restarting.
Step 5: Restart the system and monitor it. If it freezes again within a few hours, you have a refrigerant issue (see #3) and need a professional.
Never chip or scrape ice off the coil; you’ll damage the delicate fins and potentially puncture the refrigerant line.
3. Refrigerant Leak
What’s Actually Happening
Refrigerant isn’t fuel your AC doesn’t consume it under normal operation. If refrigerant levels are low, that means there’s a leak somewhere in the system. Refrigerant is the substance that physically absorbs heat from inside your home and dumps it outside. When there isn’t enough of it, the whole heat-transfer process breaks down, and you get warm air, long run cycles, and eventually a frozen coil.
Signs You’re Dealing With This
✔ Air coming from vents is slightly cool but never reaches your thermostat setting
✔ System runs for unusually long cycles, especially on hot days
✔ Recurring ice on the evaporator coil even after thawing
✔ A faint hissing or bubbling noise near the outdoor unit
✔ Higher-than-normal humidity indoors — refrigerant also helps dehumidify
✔ Occasionally, a faint sweet chemical smell near the indoor unit
Important 2025 Update: R-22 and R-410A
If your system was installed before 2010, it almost certainly uses R-22 (Freon), which has been federally banned from production since January 2020. Only recycled stockpiles exist, making R-22 extremely expensive often $50–$150 per pound. If your older system has a refrigerant leak, the honest calculation is almost always: repair cost vs. new system cost.
Systems manufactured after 2015 use R-410A. However, as of January 2025, EPA regulations are now pushing HVAC manufacturers toward lower-GWP refrigerants like R-32 and R-454B. New systems you buy today will increasingly use these newer refrigerants worth knowing if you’re comparing replacement options.
Refrigerant work requires an EPA 608 certification. This is not a DIY fix topping off refrigerant without finding and sealing the leak is money wasted.
4. Dirty Condenser Coils (Outdoor Unit)
What’s Actually Happening
The outdoor unit’s condenser coil is where your AC dumps the heat it pulled from inside your home. It needs clean fins and open airflow to do that job. Over a season, it accumulates dirt, cottonwood seed, grass clippings, and whatever else the wind carries. When those fins are coated, heat can’t escape efficiently, the system works under strain, and performance drops noticeably, especially on the hottest days.
Signs You’re Dealing With This
✔ AC struggles most in the hottest part of the afternoon
✔ The outdoor unit runs almost constantly
✔ High-pressure safety shutoff trips the unit off on hot days
✔ You can visibly see debris, dirt, or plant material on the fins
How to Fix It
Step 1: Turn off the system and disconnect power at the outdoor disconnect box.
Step 2: Clear away any plants, leaves, or debris within 2 feet of the unit.
Step 3: Using a garden hose (not a pressure washer too forceful), spray from the inside out through the fins to push debris outward.
Step 4: Let it dry for 15–20 minutes before restoring power.
Do this at the start of every cooling season. If the fins are bent (common after storms or from debris impact), a fin comb tool from any hardware store can straighten them.
5. Thermostat Problems (Including Smart Thermostat Misconfiguration)
What’s Actually Happening
Your thermostat is the brain of the operation. When it malfunctions, loses power, or is simply configured incorrectly, the whole system goes sideways. This is one of those problems that’s embarrassingly simple to fix, but only if you know to look there first.
The 2025 Smart Thermostat Wrinkle
With the explosion of smart thermostats (Ecobee, Nest, and Honeywell Home), we’re seeing a new category of thermostat problem: app-based misconfiguration. Homeowners set schedules they forget about, enable ‘eco mode’ that prevents the system from reaching its setpoint, or their thermostat loses its Wi-Fi connection and reverts to a default schedule. Always check the app, not just the device on the wall.
Quick Diagnostic Checklist
✔ Is the screen blank or unresponsive? Check batteries or the C-wire connection.
✔ Is it set to COOL mode, not HEAT or AUTO?
✔ Is your setpoint actually below the current room temperature?
✔ Is a schedule overriding your manual setting?
✔ For smart thermostats: is the app showing a different temperature reading than the physical unit? Sensor calibration may have drifted.
✔ Check that the thermostat is not mounted near a heat source, in direct sunlight, or near a supply vent all of these cause incorrect readings.
6. Capacitor or Electrical Component Failure
What’s Actually Happening
Capacitors are the unsung workhorses of your AC system. The start capacitor gives the compressor and fan motors their initial burst of electricity to kick on. The run capacitor keeps them running at the right speed. When a capacitor weakens or fails, you get a system that struggles to start, runs inefficiently, or doesn’t start at all. Capacitors are particularly vulnerable to heat which is why they tend to fail in peak summer conditions.
Signs You’re Dealing With This
✔ The outdoor unit hums but the fan blade doesn’t spin (or spins weakly)
✔ AC starts, runs briefly, shuts off, and tries again repeatedly (short cycling)
✔ You hear a clicking sound from the outdoor unit at startup
✔ The unit simply won’t start despite the thermostat calling for cooling
DIY vs. Pro Line
Capacitors store a lethal electrical charge even when the power is off. Unless you have specific electrical training and the right discharge tools, this is firmly a professional repair. The good news: capacitor replacement is usually a $150–$250 repair that takes a technician about 20 minutes. It’s one of the most cost-effective service calls there is.
7. Drainage Problems and Clogged Condensate Line
What’s Actually Happening
As your AC cools air, it removes humidity that moisture has to go somewhere. It drips off the evaporator coil into a drain pan, then exits through a condensate drain line (usually a PVC pipe that empties outside or into a floor drain). Over time, algae, mold, and debris clog that line. When it backs up, the drain pan overflows. Most modern systems have a float switch that shuts the system down to prevent water damage.
Signs You’re Dealing With This
✔ Standing water in the drain pan beneath your air handler
✔ Water stains on the ceiling or wall near the indoor unit
✔ Musty smell from the vents
✔ The system shuts off unexpectedly and won’t restart (float switch tripped)
How to Fix It The Vinegar Method
Monthly prevention: Pour 1/4 cup of white distilled vinegar into the condensate drain access port (usually a capped pipe near your air handler). The acidity kills algae before it can accumulate.
If already clogged: Locate the drain clean-out access. Use a wet/dry shop vac to suction from the drain line’s outdoor exit point for 1–2 minutes. Then pour a cup of warm water in to confirm flow. If it’s still blocked, a HVAC technician can use a pressurized nitrogen flush to clear it.
8. AC Short Cycling
What’s Actually Happening
Short cycling is when your air conditioner turns on, runs for only 2–5 minutes, shuts off, then kicks back on again over and over. This is one of the most damaging operational patterns for your system. Every startup puts enormous electrical stress on the compressor. A system that short cycles burns through compressor lifespan dramatically faster than one running normal cycles.
Common Causes
✔ Oversized AC system the most overlooked cause. A unit that’s too large for the space cools it so fast it shuts off before removing adequate humidity.
✔ Refrigerant leak causing pressure imbalance that trips the safety switch
✔ Frozen evaporator coil causing the system to overheat and shut down
✔ Failing compressor approaching end of life
✔ Thermostat placed near a supply vent or in direct sunlight, causing premature shutoff
Why This Matters More Than People Realize
Homeowners often see a short-cycling system and think ‘at least it’s cooling.’ It isn’t not properly. The system never runs long enough to dehumidify the air, which is why short-cycled homes often feel clammy even when the temperature reads correctly. High humidity at 73°F feels worse than dry air at 75°F.
9. Compressor Issues
What’s Actually Happening
The compressor is the heart of your AC system it pressurizes the refrigerant to drive the entire cooling cycle. It’s also the most expensive component to replace. Compressor problems generally don’t appear suddenly; they develop over years through a combination of hard operation, refrigerant contamination, electrical surges, and deferred maintenance.
Signs Your Compressor Is Struggling
✔ Loud clanking, banging, or rattling from the outdoor unit
✔ AC runs but barely produces any cooling even with clean filters and proper refrigerant
✔ Circuit breaker for the AC keeps tripping
✔ The outdoor unit vibrates excessively
The Hard Truth on Compressor Replacement
A replacement compressor typically costs $1,200–$2,500 installed. If your system is 10+ years old, spending that much on a compressor often doesn’t make financial sense you’re putting significant money into aging infrastructure that will need full replacement within a few years anyway. Most experienced techs will offer you an honest comparison of repair vs. replace economics. Trust that conversation.
10. Improper System Sizing (The Problem Nobody Talks About)
What’s Actually Happening
This isn’t a failure mode it’s a design mistake made at installation, and it’s far more common than the industry likes to admit. An oversized AC unit cools the space too quickly, short cycles constantly, never removes adequate humidity, and wears out prematurely. An undersized unit runs endlessly and still can’t reach setpoint on hot days.
How Proper Sizing Should Work
Correct sizing requires a Manual J load calculation an engineering analysis that accounts for square footage, ceiling height, insulation levels, window area and orientation, local climate data, and occupancy. Any contractor who sizes your replacement system purely by matching the old unit’s tonnage is cutting a corner. That shortcut costs you in efficiency, comfort, and equipment longevity.
What This Means for You
If you’ve had your current system for years and always felt like the cooling was uneven, your humidity felt off, or certain rooms never quite got comfortable poor sizing may be the root cause, not a component failure.
How Mini Split Installation Solves Many of These Problems Permanently
Here’s the conversation we have with homeowners who’ve had their third refrigerant leak, or their second compressor, or who’ve never once had even temperatures throughout their home: sometimes the smartest fix isn’t another repair. It’s rethinking the system entirely.
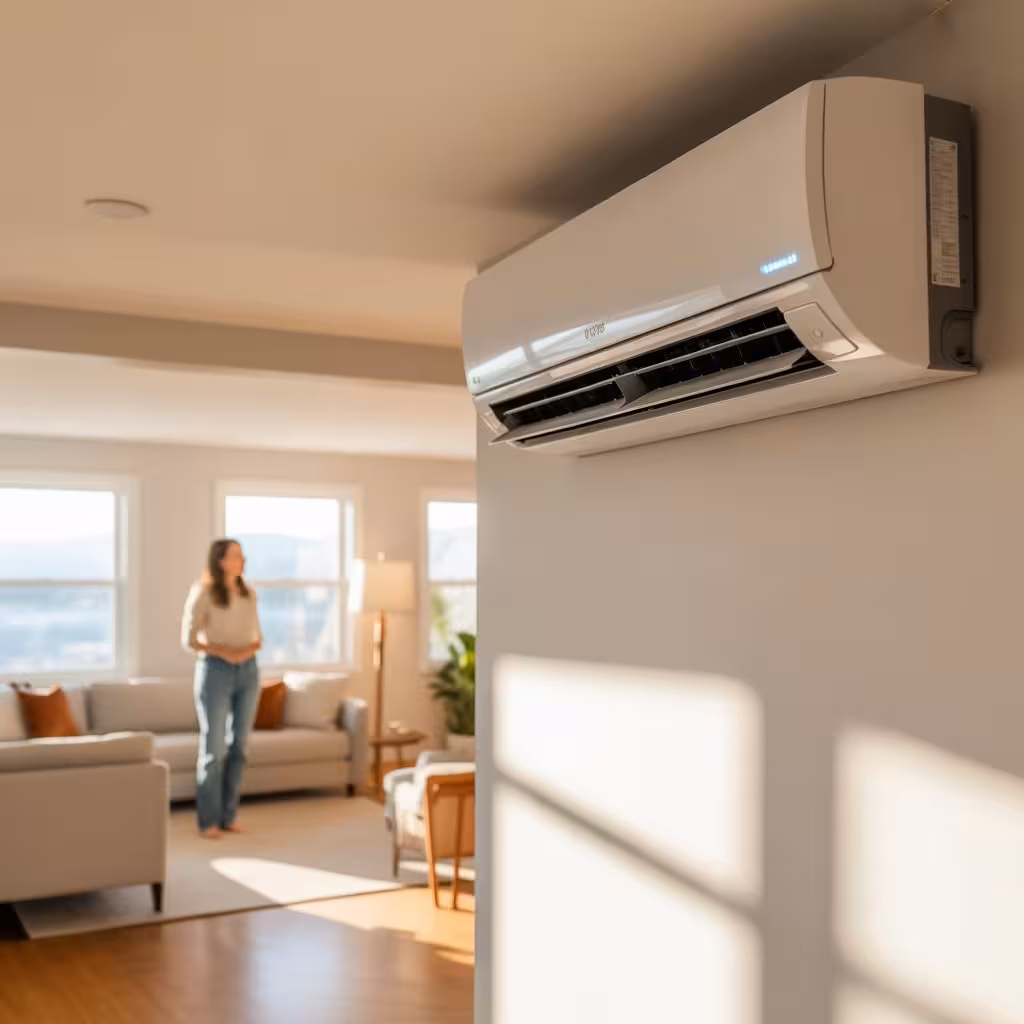
What a Ductless Mini Split Does Differently
No ductwork losses: Traditional central AC systems lose 20–30% of conditioned air through leaky or uninsulated ducts. Mini splits deliver refrigerant directly to the indoor air handler there are no ducts to lose efficiency through.
Zone-level control: Each room or zone gets its own air handler and thermostat setting. You’re not cooling your guest bedroom at 3am just to keep the master bedroom comfortable.
Inverter-driven compressors: Modern mini splits use variable-speed inverter compressors that modulate output rather than cycling on and off. This eliminates short cycling by design, removes humidity far more effectively, and dramatically extends compressor lifespan.
Simplified maintenance: Most mini split filters are washable and accessible without tools. No duct cleaning, no duct sealing, no filter-finding expedition in a cramped attic.
SEER2 ratings of 20–30+: The most efficient central systems top out around SEER2 18–20. Premium mini splits routinely achieve SEER2 25–33, meaning significantly lower operating costs year over year.
Is a Mini Split Right for Your Situation?
Mini split installation makes particular sense for: homes without existing ductwork, additions and converted spaces (garages, sunrooms, attic rooms), situations where one zone of the home consistently underperforms, older homes where duct installation would be invasive and expensive, and homeowners looking to reduce energy consumption meaningfully.
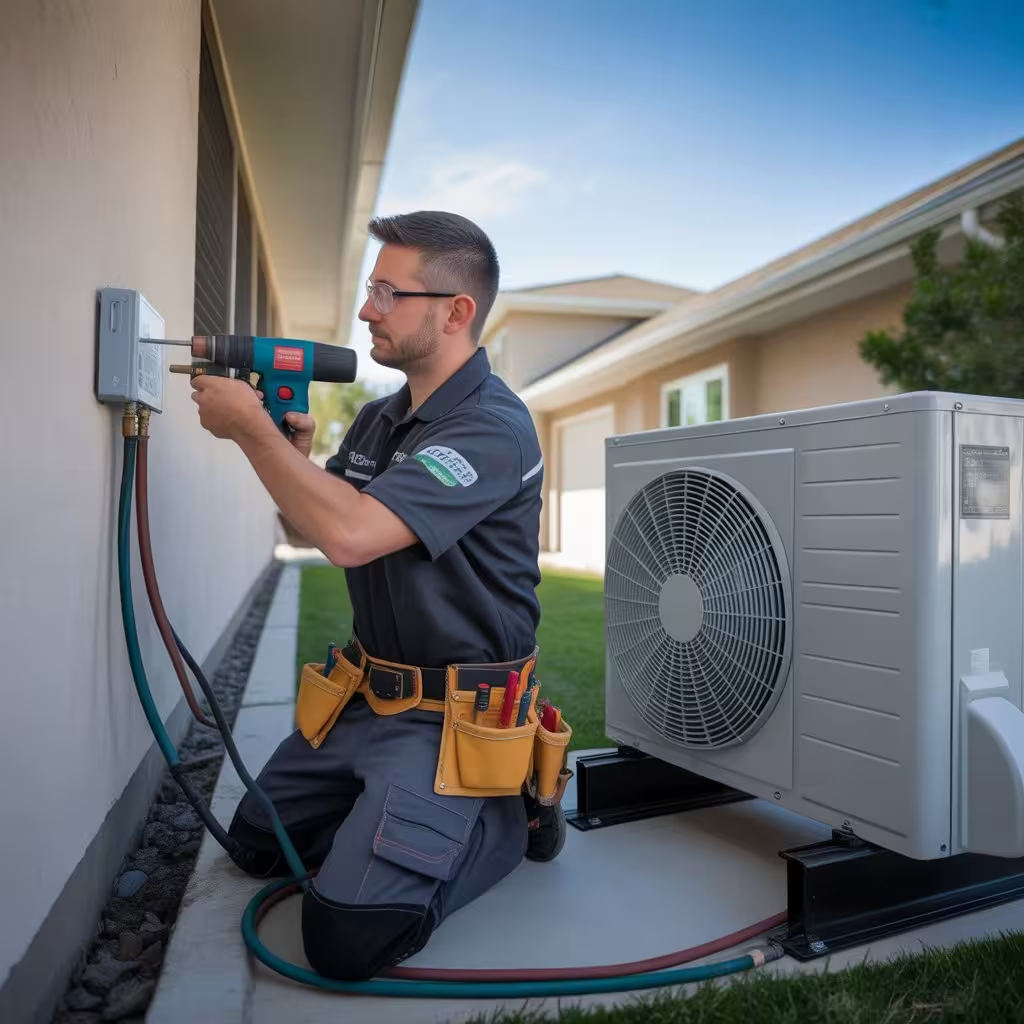
Our mini split installation service includes a proper Manual J sizing calculation, professional line-set installation, and full system commissioning contact us to schedule a no-pressure assessment.
Annual Maintenance Checklist: Prevent All 10 Problems
The frustrating truth is that 7 of the 10 problems above are largely preventable with consistent maintenance. Here’s what a proper annual tune-up should include:
✔ Replace or clean air filter (done at tune-up, continue monthly between visits)
✔ Inspect and clean evaporator and condenser coils
✔ Check refrigerant charge and inspect for leaks
✔ Test capacitors with a capacitance meter and replace if weakened
✔ Flush condensate drain line with compressed nitrogen
✔ Inspect and tighten all electrical connections
✔ Measure supply and return air temperatures (delta-T check)
✔ Test thermostat calibration and verify setpoints
✔ Inspect outdoor unit clearances and clean fin area
✔ Document system performance metrics for year-over-year comparison
Scheduling this before cooling season March or early April means you catch problems before you need the system most.
Final Thoughts
AC problems range from a five-minute filter swap to a multi-thousand-dollar compressor replacement and everything in between. The difference between a $15 fix and a $2,000 repair is often just catching the problem early and not ignoring the early warning signs.
If your system has been struggling with recurring problems, is over 12 years old, or you’ve been tolerating uneven temperatures and humidity issues for years, it may be worth having an honest conversation about whether a targeted repair or a system upgrade makes more long-term sense.
We offer free assessments for homeowners considering mini split installation no pressure, just an honest look at your home’s layout and cooling needs. Reach out to our team to schedule yours.
